
Undoubtedly, Magento provides the store customization beyond we can think and implement. And as such comparatively, if you want to add a static block in the page content section then it’s not a big deal to achieve. However, to customize the sidebar column it requires a bit of tricky work from you.
Following such practice to manipulate the sidebar section of any page in Magento 2, we instruct a simple process to add a static block of your choice.
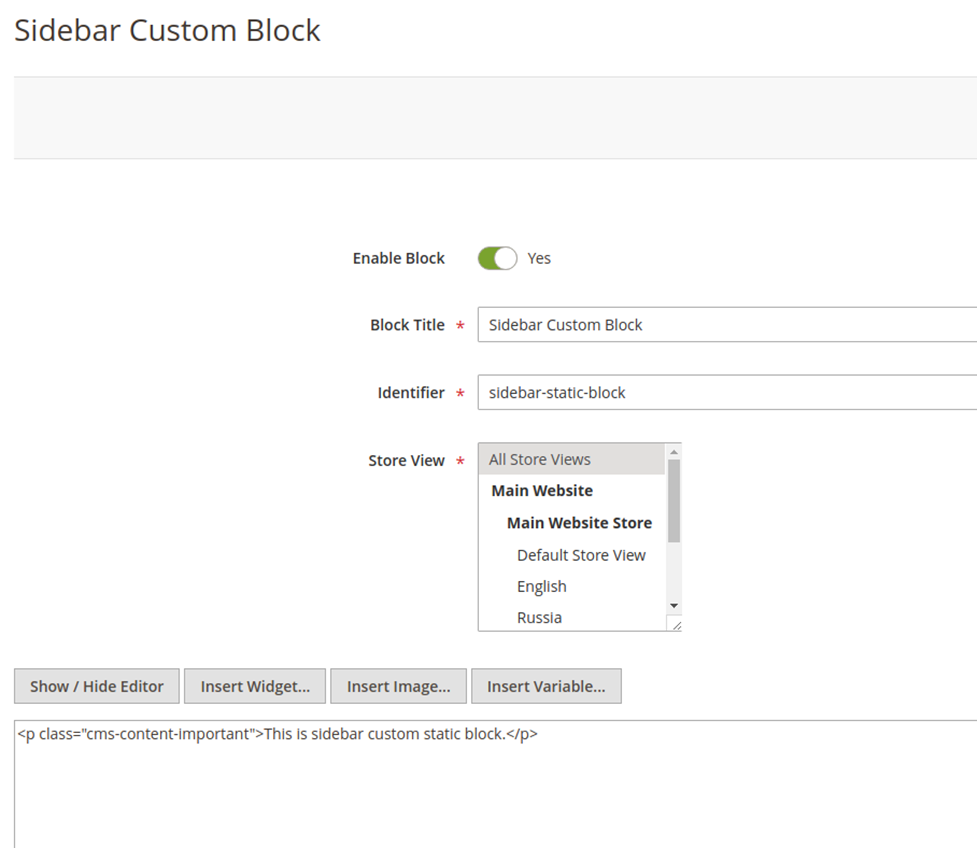
To begin with, we need to create a CMS static block on the admin side, and then we will be displaying the same on the storefront.
For example,
Looking onto the code-work, first, we need to create a module let’s say AureateLabs_Demo and add a default.xml file in your module at the below path:app/code/AureateLabs/Demo/view/frontend/layout/default.xml
<?xml version="1.0"?>
<page xmlns:xsi="http://www.w3.org/2001/XMLSchema-instance" xsi:noNamespaceSchemaLocation="urn:magento:framework:View/Layout/etc/page_configuration.xsd">
<body>
     <referenceContainer name="sidebar.additional">
          <block class="AureateLabs\Demo\Block\Sidebar" name="sidebar_static_block" as="sidebar_static_block" template="AureateLabs_Demo::sidebar.phtml" after="wishlist_sidebar"/>
     </referenceContainer>
</body>
</page>
Now, in order to render the block which we have created in the admin panel, we need to create block class and template file
First, create a Block class Sidebar.php and add the following code in it.
File path: app/code/AureateLabs/Demo/Block/Sidebar.php
<?php
namespace AureateLabs\Demo\Block;
class Sidebar extends \Magento\Framework\View\Element\Template
{
  /**
   * @var \Magento\Store\Model\StoreManagerInterface
   */
  protected $_storeManager;
  /**
   * @var \Magento\Cms\Model\BlockFactory
   */
  protected $_blockFactory;
  /**
   * @var \Magento\Cms\Model\Template\FilterProvider
   */
  protected $filterProvider;
  /**
   * Sidebar constructor.
   * @param \Magento\Framework\View\Element\Template\Context $context
   * @param \Magento\Store\Model\StoreManagerInterface $storeManager
   * @param \Magento\Cms\Model\BlockFactory $blockFactory
   * @param \Magento\Cms\Model\Template\FilterProvider $filterProvider
   * @param array $data
   */
  public function __construct(
      \Magento\Framework\View\Element\Template\Context $context,
      \Magento\Store\Model\StoreManagerInterface $storeManager,
      \Magento\Cms\Model\BlockFactory $blockFactory,
      \Magento\Cms\Model\Template\FilterProvider $filterProvider,
      array $data = []
  ) {
      parent::__construct(
          $context,
          $data
      );
      $this->_storeManager = $storeManager;
      $this->_blockFactory = $blockFactory;
      $this->filterProvider = $filterProvider;
  }
  public function getstaticBlockContent($blockId)
  {
      $html = '';
      if ($blockId) {
          $storeId = $this->_storeManager->getStore()->getId();
          /** @var \Magento\Cms\Model\Block $block */
          $block = $this->_blockFactory->create();
          $block->setStoreId($storeId)->load($blockId);
          $html = $this->filterProvider->getBlockFilter()
                       ->setStoreId($storeId)
                       ->filter($block->getContent());
      }
      return $html;
  }
}
Now, create a template file sidebar.phtml and call getstaticBlockContent method with parameter(static block identifier) to get the block content.
File path: app/code/AureateLabs/Demo/view/frontend/templates/sidebar.phtml
<?php
/**
* @var \AureateLabs\Demo\Block\Sidebar $block
*/
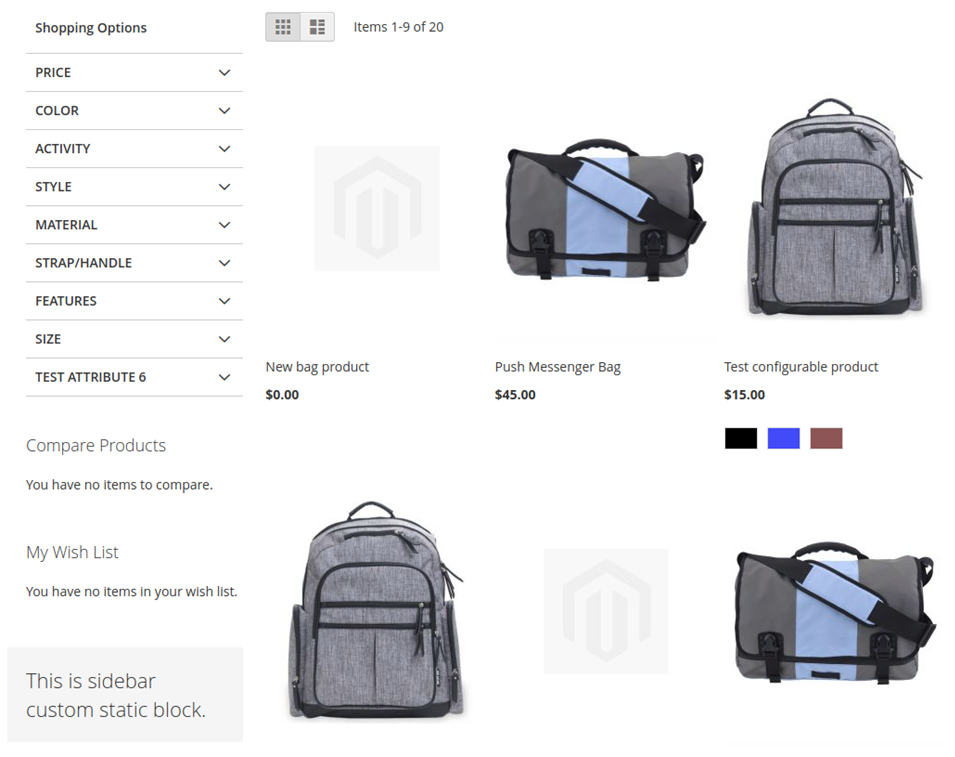
echo $block->getstaticBlockContent('sidebar-static-block');Final Output
This is all. If you’ve followed the above steps carefully then you must see your static block displayed in sidebar column as shown in below image.
Though it’s not that much complicated to create and display static block in Magento 2 still you’ve stuck somewhere in between, getting errors or having any questions, feel free to reach us by leaving a comment below. We will be happy if given a chance to resolve your queries.
Related resources:


Post a Comment
Got a question? Have a feedback? Please feel free to leave your ideas, opinions, and questions in the comments section of our post! ❤️