
Ever wondered how to create system.xml configuration in Magento 2 without getting lost in the code jungle? You’ve landed at the right spot.
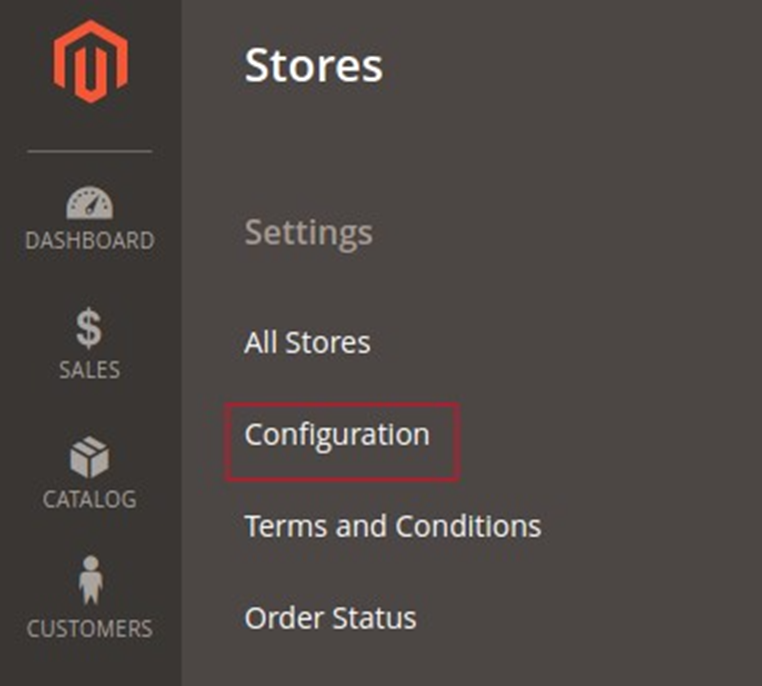
In this blog, we’ll break down how to add a custom system configuration under Stores > Configuration, making your Magento admin panel more powerful, organized, and developer-friendly.
Config.xml in Magento 2
XML is a configuration file that creates configuration fields in Magento 2 System Configuration. You can create config.xml in Magento 2 in 3 simple steps. First, create a custom configuration field with Magento 2. Second, create ACL. And finally, add the default config value on Magento 2 module.
Now we will show you how to execute it in three steps with examples.
Note: Replace Aureatelabs/Jobs from entries in this article with your module name.
Step 1: Create a custom configuration field with Magento 2
Let’s assume that we have created a module for jobs. Now let’s create the system.xml file.
The system.xml file will be located at: app/code/Aureatelabs/Jobs/etc/adminhtml/system.xml
<?xml version="1.0"?>
<config xmlns:xsi="http://www.w3.org/2001/XMLSchema-instance" xsi:noNamespaceSchemaLocation="urn:magento:module:Magento_Config:etc/system_file.xsd">
<system>
   <tab id="jobs" translate="label" sortOrder="1000">
       <label>Jobs</label>
   </tab>
   <section id="jobs" translate="label" type="text" sortOrder="10" showInDefault="1" showInWebsite="1" showInStore="1">
       <label>Jobs</label>
       <tab>jobs</tab>
       <resource>Aureatelabs_Jobs::jobs</resource>
       <group id="department" translate="label" type="text" sortOrder="10" showInDefault="1" showInWebsite="1" showInStore="1">
           <label>Job configuration</label>
           <field id="view_list" translate="label comment" type="select" sortOrder="10" showInDefault="1" showInWebsite="1" showInStore="1">
               <label>Show list</label>
               <comment>Show job list of the viewing department</comment>
               <source_model>Magento\Config\Model\Config\Source\Yesno</source_model>
           </field>
       </group>
   </section>
</system>
</config>- tab node creates a new tab. The attribute sortOrder allows you to change its position on the list.
- The section node adds a new element to our tab. You can change the text with the label value.
- group node creates a group of fields on the form. We will create one group with the label Job configuration.
- We have to set the select type and define the label. We will be using a native object from Magento, which will return values “Yes/No”.
Step 2: ACL Creation
The next step is to create an ACL for displaying the Configuration. Let’s create an acl.xml file.
The acl.xml file will be located at: app/code/Aureatelabs/Jobs/etc/acl.xml
<?xml version="1.0"?>
<config xmlns:xsi="http://www.w3.org/2001/XMLSchema-instance" xsi:noNamespaceSchemaLocation="urn:magento:framework:Acl/etc/acl.xsd">
<acl>
   <resources>
       <resource id="Magento_Backend::admin">
           <resource id="Aureatelabs_Jobs::job_head" title="Jobs" sortOrder="100" >
               <resource id="Aureatelabs_Jobs::department" title="Departments" sortOrder="10">
                   <resource id="Aureatelabs_Jobs::department_save" title="Save Department" sortOrder="10" />
                   <resource id="Aureatelabs_Jobs::department_delete" title="Delete Department" sortOrder="20" />
               </resource>
               <resource id="Aureatelabs_Jobs::job" title="Jobs" sortOrder="20">
               <resource id="Aureatelabs_Jobs::job_save" title="Save Job" sortOrder="10" />
                   <resource id="Aureatelabs_Jobs::job_delete" title="Delete Job" sortOrder="20" />
               </resource>
           </resource>
           <resource id="Magento_Backend::stores">
               <resource id="Magento_Backend::stores_settings">
                   <resource id="Magento_Config::config">
                       <resource id="Aureatelabs_Jobs::jobs" title="Jobs Section" />
                   </resource>
               </resource>
           </resource>
       </resource>
   </resources>
</acl>
</config>- We have added a new node named “Magento_Backend::stores”
- The last node will be our module node: Aureatelabs_Jobs::jobs
- The ID is equal to the resource node in the system.xml file.
After performing the above steps, you need to execute the commands given below:php bin/magento cache:flushphp bin/magento setup:di:compile
Now refresh the store configuration page and you will find that the admin configuration will be available now.
Step 3: Add the default config value to the Magento 2 module
Let’s create a config.xml file. The config.xml file will be located at: app/code/Aureatelabs/Jobs/etc/config.xml
<?xml version="1.0"?>
<config xmlns:xsi="http://www.w3.org/2001/XMLSchema-instance" xsi:noNamespaceSchemaLocation="urn:magento:module:Magento_Store:etc/config.xsd">
<default>
   <jobs>
       <department>
           <view_list>1</view_list>
       </department>
   </jobs>
</default>
</config>- The default node states that it is the default scope.
- The next nodes are section, group, and field names that are set in system.xml
- Here we set our default value to 1.
You can verify your configuration by checking the core_config_data table in your Magento database. Simply look for the jobs/department/view_list entry under the path column to confirm your setup.
And that’s a wrap! If you’ve followed each step carefully, you now know how to create system.xml configuration in Magento 2 like a pro. Should you run into any confusion or need help customizing your setup, feel free to reach out — our Magento experts are always ready to help.
Happy Customizing!


Post a Comment
Got a question? Have a feedback? Please feel free to leave your ideas, opinions, and questions in the comments section of our post! ❤️