
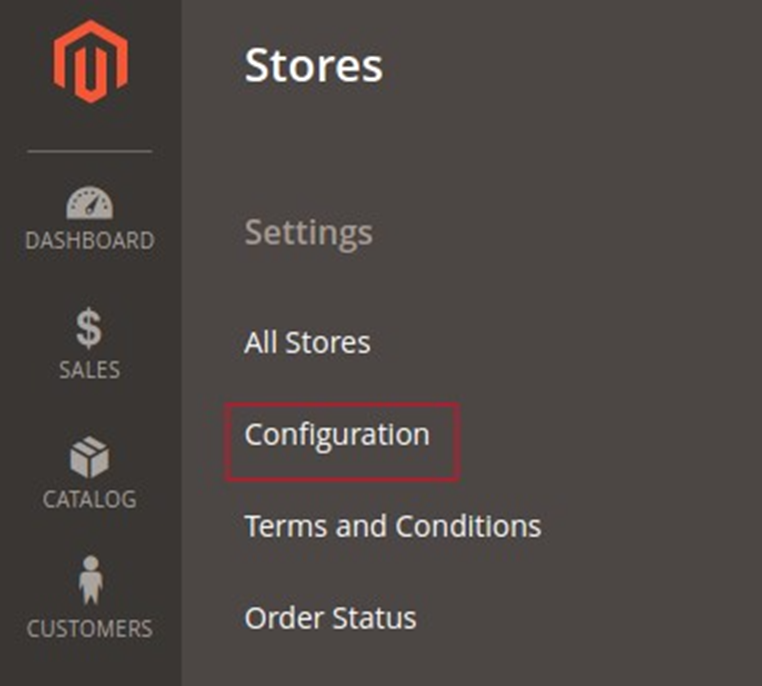
Hello, if you want to learn regarding the configuration creation in Magento 2 then you are at the right place. In this blog, we will cover how to add custom system configuration located in Stores > Configuration
Config.xml in Magento 2
XML is a configuration file that creates configuration fields in Magento 2 System Configuration. You can create config.xml in Magento 2 in 3 simple steps. First, create a custom configuration field with Magento 2. Second, create ACL. And finally, add the default config value on Magento 2 module.
Now we will show you how to execute it in three steps with examples.
Note: Replace Aureatelabs/Jobs from entries in this article with your module name.
Step 1: Create a custom configuration field with Magento 2
Let’s assume that we have created a module for jobs. Now let’s create the system.xml file.
The system.xml file will be located at: app/code/Aureatelabs/Jobs/etc/adminhtml/system.xml
<?xml version="1.0"?>
<config xmlns:xsi="http://www.w3.org/2001/XMLSchema-instance" xsi:noNamespaceSchemaLocation="urn:magento:module:Magento_Config:etc/system_file.xsd">
<system>
   <tab id="jobs" translate="label" sortOrder="1000">
       <label>Jobs</label>
   </tab>
   <section id="jobs" translate="label" type="text" sortOrder="10" showInDefault="1" showInWebsite="1" showInStore="1">
       <label>Jobs</label>
       <tab>jobs</tab>
       <resource>Aureatelabs_Jobs::jobs</resource>
       <group id="department" translate="label" type="text" sortOrder="10" showInDefault="1" showInWebsite="1" showInStore="1">
           <label>Job configuration</label>
           <field id="view_list" translate="label comment" type="select" sortOrder="10" showInDefault="1" showInWebsite="1" showInStore="1">
               <label>Show list</label>
               <comment>Show job list of the viewing department</comment>
               <source_model>Magento\Config\Model\Config\Source\Yesno</source_model>
           </field>
       </group>
   </section>
</system>
</config>- tab node creates a new tab. The attribute sortOrder allows you to change its position on the list.
- section node adds a new element to our tab. You can change the text with the label value.
- group node creates a group of the field on the form. We will create one group with the label Job configuration.
- We have to set the select type and define the label. We will be using a native object from Magento which will return values “Yes/No”.
Step 2: ACL Creation
Next step is to create ACL for displaying the Configuration. Let’s create acl.xml file.
The acl.xml file will be located at: app/code/Aureatelabs/Jobs/etc/acl.xml
<?xml version="1.0"?>
<config xmlns:xsi="http://www.w3.org/2001/XMLSchema-instance" xsi:noNamespaceSchemaLocation="urn:magento:framework:Acl/etc/acl.xsd">
<acl>
   <resources>
       <resource id="Magento_Backend::admin">
           <resource id="Aureatelabs_Jobs::job_head" title="Jobs" sortOrder="100" >
               <resource id="Aureatelabs_Jobs::department" title="Departments" sortOrder="10">
                   <resource id="Aureatelabs_Jobs::department_save" title="Save Department" sortOrder="10" />
                   <resource id="Aureatelabs_Jobs::department_delete" title="Delete Department" sortOrder="20" />
               </resource>
               <resource id="Aureatelabs_Jobs::job" title="Jobs" sortOrder="20">
               <resource id="Aureatelabs_Jobs::job_save" title="Save Job" sortOrder="10" />
                   <resource id="Aureatelabs_Jobs::job_delete" title="Delete Job" sortOrder="20" />
               </resource>
           </resource>
           <resource id="Magento_Backend::stores">
               <resource id="Magento_Backend::stores_settings">
                   <resource id="Magento_Config::config">
                       <resource id="Aureatelabs_Jobs::jobs" title="Jobs Section" />
                   </resource>
               </resource>
           </resource>
       </resource>
   </resources>
</acl>
</config>- We have added a new node named “Magento_Backend::stores”
- The last node will be our module node : Aureatelabs_Jobs::jobs
- The id is equal to the resource node in the system.xml file.
After performing the above steps you need to execute the commands given below:php bin/magento cache:flushphp bin/magento setup:di:compile
Now refresh the store configuration page and you will find that the admin configuration will be available now.
Step 3: Add default config value on Magento 2 module
Let’s create a config.xml file. The config.xml file will be located at: app/code/Aureatelabs/Jobs/etc/config.xml
<?xml version="1.0"?>
<config xmlns:xsi="http://www.w3.org/2001/XMLSchema-instance" xsi:noNamespaceSchemaLocation="urn:magento:module:Magento_Store:etc/config.xsd">
<default>
   <jobs>
       <department>
           <view_list>1</view_list>
       </department>
   </jobs>
</default>
</config>- The default node states that it is the default scope.
- The next nodes are section, group and field names that are set in system.xml
- Here we set our default value to 1.
You can check DB value for configuration. Now find core_config_data MySQL table in Magento database. You can find the jobs/department/view_list inside path column in the MySQL table.
This is all. If you follow the above steps carefully you can certainly go live with the customs entry in the system configuration in Magento2. Even if you have any query or doubt regarding this article, you can reach us to make it clear.
Happy Customizing!


Post a Comment
Got a question? Have a feedback? Please feel free to leave your ideas, opinions, and questions in the comments section of our post! ❤️