")
Hello readers welcome to my new post on Magento 2. I have written this post while working on one of my recent projects. Considering the issue I faced and solution I got after doing some research and development, I thought of sharing it with my virtual colleagues like you.
I this post, I will be guiding you through what is LiveReload, what is Grunt, how to install Grunt, how to install LiveReload, and finally how to work with LiveReload. So without further a do, lets dive into the post.
But before starting, there are following prerequisites which must be met.
Prerequisites
- Set your Magento 2 to the developer mode.
- Before installed Grunt please verify that Node.js already exists on a system.
What is LiveReload?
- LiveReload is a browser extension for web developers to easily develop web design.
- To utilize LiveReload, you would like a client (this script) in your browser and a server should be run on your development machine.
- LiveReload tracks filesystem changes. When you save a file, it will be pre-processed as required, and the browser will be refreshed.
- It’s a better way to develop a Magento website using this kind tool because for a Magento developer it’s to much time-consuming process to change CSS files, clean the cache and refresh the page manually to see the result, then he again goes back and does some other changes on CSS then repeat the same process and so on, while with the Liverelaod you to just save and check on the browser and all the changes has applied on the browser web page.
- This reduced the time to clean the cache, either deploying the static-content, but you do need Grunt installed on the server.
What is Grunt?
- Grunt (Grunt JavaScript Task Runner) is a tool that lets you build automated tasks in JavaScript.
- This method was used to perform regular tasks like minification, compiling, unit testing and linting automatically. It uses a command-line interface to run custom tasks specified in a file (known as a Gruntfile).
- Magento 2 contains manual tasks that you only need to configure.
Now, first of all, We are starting to install the grunt on your local or development server.
Installation of Grunt
- Install the Grunt CLI globally on your server. To do this, run the following command in a command prompt
$ npm install -g grunt-cli- Go to your project root() directory to copy and paste the contents of the following sample files:
- package.json.sample into package.json
- Gruntfile.js.sample into Gruntfile.js
- grunt-config.json.sample into grunt-config.jso
- To Install the node.js project dependencies, including Grunt, for your Magento instance. To do this, run the following commands in the command prompt:
- cd <your_Magento_instance_directory>
- npm install
- npm update
- Add your theme to Grunt configuration. To do this, in the dev/tools/grunt/configs/themes.js file, add your theme in module.exports as shown below:
module.exports = {
       ...
   <theme>: {
   area: 'frontend',
       name: '<Vendor>/<theme>',
       locale: '<language>',
       files: [
       '<path_to_file1>', //path to root source file
       '<path_to_file2>'
   ],
       dsl: 'less'
       ...
},- Now you can use the grunt clean to delete static files in pub/static and var directories that are connected to the theme.
- The grunt watch command can be used to detect modifications in source code, recompile.css code, and refresh pages in a browser.
Installation of Livereload
- Install and configure the Livereload extension on your development browser. Refer the link for download the browser extension.
- Installed the Livereload globally on your server. To do this, run the following command in a command prompt:
$ npm install -g livereload - To confirm the Livereload installed successfully on your server, run the below command in the command line.
livereload -v 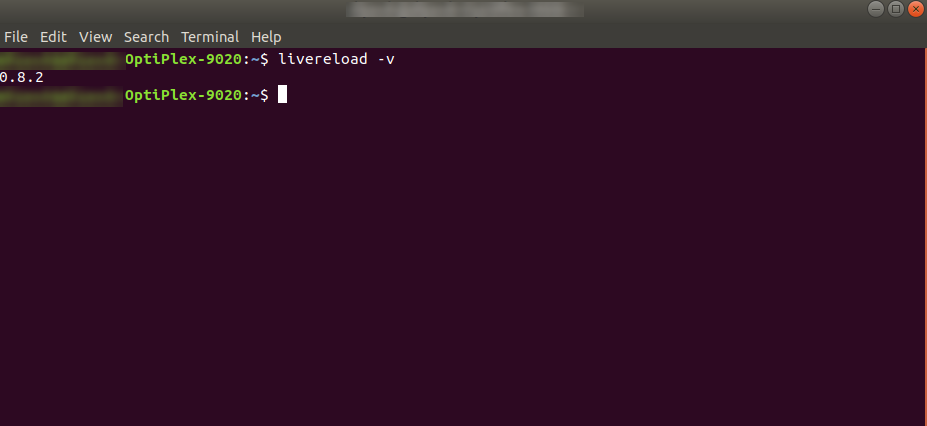
- Then implement the script code below inside <head> tag in default.xml or default_head_blocks.xml of your current theme.
For example
app/design/frontend/<Vendor>/<theme>/Magento_Theme/layout/default_head_blocks.xml<page xmlns:xsi="http://www.w3.org/2001/XMLSchema-instance" xsi:noNamespaceSchemaLocation="urn:magento:framework:View/Layout/etc/page_configuration.xsd">
<head>
<script src="http://mage233:35729/livereload.js" src_type="url" />
</head>
</page>On the above code, you can see the src URL add the JS file. Please check the details below.
- Your store URL: http://mage233
- Your Port Number(Mostly, It remains the same): 35729
- Add this JS File on the root of your project: livereload.js
You can download the livereload.js from here.
How to work with Livereload?
- LiveReload toolbar button is located in the main toolbar in Chrome, Safari and in the Add-on Toolbar of Firefox (at the bottom).

- Click on the LiveReload toolbar button to enable or disable LiveReload.This icon indicates LiveReload status of the current tab (unavailable / disabled / enabled, connecting / enabled, connected).
- First of all, You have to run the grunt watch command in the command line to monitor the file CSS changes.

- You have to enable the LiveReload extension from your browser toolbar. You can see the inner dot darken after enabling the extension.
- To check that everything goes right. Please enter http://mage233:35729 URL on the browser. It will show the {“tinylr”:”Welcome”,”version”:”1.1.1″}

- Now open your _extend.less file and add/edit the CSS changes and save it. You will see in grunt watch command toolbar pub static file updates and show the updated file.
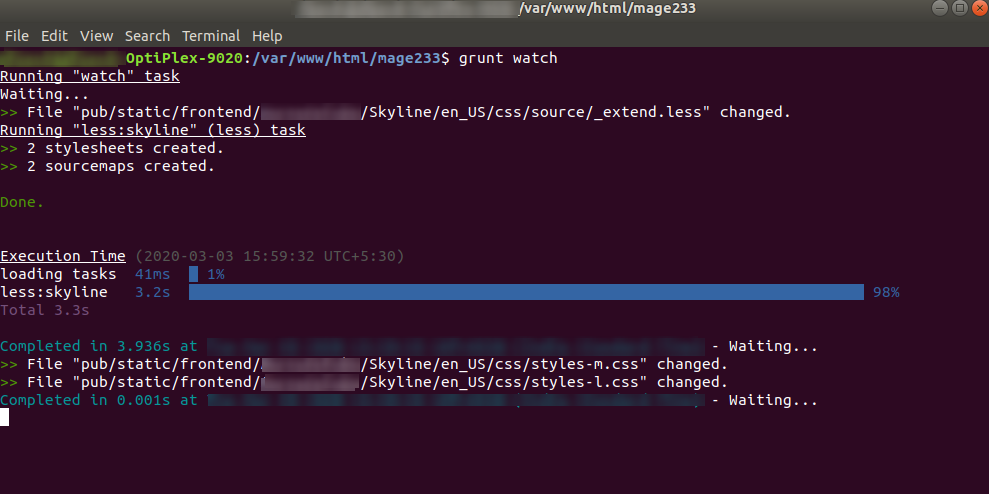
Finally, the changes appear quicky on the browser web page without the page reload.
I hope this will help to integrate theme easily. This is the most suitable way to integrate a theme.
Thanks for reading this post and feel free to drop your comments, will be happy to read them. See you on my next post, till then take care.
Helpful resources:


Post a Comment
Got a question? Have a feedback? Please feel free to leave your ideas, opinions, and questions in the comments section of our post! ❤️