How to generate the styles and use Watcher while working with Hyvä Themes?
Chapters Close

Configuring Tailwind for Hyvä Theme

In order to ensure the seamless integration of Hyvä theme, it is imperative to fine-tune the Tailwind Purge settings. To accomplish this, follow the outlined steps below:

  1. Adjust the Tailwind Purge settings to optimize compatibility.
  2. Execute the following steps to ensure a smooth integration of Hyvä theme.

First, you will need to install all required node packages.

cd /path/to/project/app/design/frontend/vendor/theme/web/tailwind/ 
 npm install

We advise utilizing Node.js version 16 or a more recent release. 

Depending on the Hyvä release, the minimum required versions are as follows: Hyvä 1.2.x necessitates Node.js 14.0.0, while Hyvä 1.1.x requires Node.js 12.13.0. 

For the minimum Node.js version required by any Tailwind CSS release, refer to the engines.node section in the tailwindCSS packages.json file.

Tailwind Purge Content settings

The standard size for a Hyvä Theme stylesheet is approximately 100kb, which translates to roughly 17kb when transmitted over the network with HTTP compression.

This efficiency is achieved because Tailwind selectively compiles only the CSS that is actively utilized within a theme.

To facilitate this, the build script must be directed to the specific directories housing the .phtml files. Typically, this would be located at app/design/frontend/vendor/theme/templates/.

If your .phtml files containing TailwindCSS classes are dispersed in app/code or vendor/, these directories must also be incorporated into your tailwind configuration.

New to Hyvä?? Learn about the Hyvä Theme from scratch!

Hyvä 1.1.14 and newer

Hyvä 1.1.15

Starting from release 1.1.15 of the hyva-themes/magento2-theme-module, the file app/etc/hyva-themes.json is employed to automatically integrate pertinent modules into the configuration for purging content paths. 

This file is regenerated automatically each time a module is enabled or disabled.

If needed, it can also be manually generated using the command…

bin/magento hyva:config:generate

Once a module is added to the list, its templates will be automatically scanned for Tailwind CSS classes.

Hyvä 1.1.14

Starting from release 1.1.14 of the hyva-themes/magento2-theme-module, the file app/etc/hyva-themes.json is utilized to automatically integrate pertinent modules into the purge content paths configuration. 

The configuration file needs to be regenerated each time a Hyvä compatibility module is installed or removed.

bin/magento hyva:config:generate

Once a module is added to the list, its templates will be automatically scanned for Tailwind CSS classes.

Hyvä 1.1.13 and before

Themes preceding Hyvä release 1.1.13 need to guarantee the discovery of all classes by manually incorporating all pertinent paths into the theme’s purge content configuration. 

Alternatively, we suggest updating the hyva-themes/magento2-theme-module to version 1.1.14 or later and leveraging the automated Tailwind purge content configuration merging.

In the absence of an upgrade, include the module paths manually in the theme’s purge content configuration, as elaborated below in the Purge Content Details section.

Purge Content Details

The purging configuration is located in your theme’s tailwind.config.js file. For instance, you can find it at app/design/frontend/vendor/theme/web/tailwind/tailwind.config.js.

Tailwind v2 vs. v3

The content settings structure underwent changes with Tailwind v3. Subsequently, the content property is now specified at the top level of the module.exports. The purge property is no longer applicable. For comprehensive details, refer to the Tailwind v3 documentation.

Exercise caution and ensure awareness of the Tailwind version implemented in your theme while making configuration adjustments.

Please note that the configuration is not restricted solely to .phtml templates. For instance, layout XML files might also reference Tailwind CSS classes and can be included in the content configuration.

Tailwind v2 purge config example

module.exports = {
  ...
  purge: {
    content: [
      // this theme's phtml files
      '../../**/*.phtml',
      // parent theme in vendor/
      '../../../../../../../vendor/hyva-themes/magento2-default-theme/**/*.phtml',
      // hyva theme-module templates (only necessary for Hyva themes before 1.1.15)
      '../../../../../../../vendor/hyva-themes/magento2-theme-module/src/view/frontend/templates/**/*.phtml',
      // app/code phtml files (if you need tailwind classes from app/code modules)
      //'../../../../../../../app/code/**/*.phtml',
      // react app src files (if Hyvä Checkout is installed in app/code)
      //'../../../../../../../app/code/**/src/**/*.jsx',
      // react app src files in vendor (If Hyvä Checkout is installed in vendor)
      //'../../../../../../../vendor/hyva-themes/magento2-hyva-react-checkout/src/reactapp/src/**/*.jsx',
      //'../../../../../../../vendor/hyva-themes/magento2-hyva-react-checkout/src/view/frontend/templates/react-container.phtml',
      // widget block classes from app/code
      //'../../../../../../../app/code/**/Block/Widget/**/*.php'
    ]
  }
}

Tailwind v3 config example

 module.exports = { 
...
  content: [
    // this theme's phtml files
    '../../**/*.phtml',
    // parent theme in vendor/
    '../../../../../../../vendor/hyva-themes/magento2-default-theme/**/*.phtml',
    // hyva theme-module templates
    '../../../../../../../vendor/hyva-themes/magento2-theme-module/src/view/frontend/templates/**/*.phtml',
  ]
}

Generating CSS during development

You can generate the styles using below command

cd /path/to/project/app/design/frontend/Aureatelabs/hyva/web/tailwind/
npm run watch

Generating CSS for production

First, you will need to install all required node packages. 

You can generate the styles using the below command:

cd /path/to/project/app/design/frontend/Aureatelabs/hyva/web/tailwind/
npm run build-prod

Initiating this command activates the continuous operation of the Tailwind compiler. Any CSS classes incorporated into templates within the specified purge configuration will promptly be appended to the styles.css file.

Example:

<button class="inline-flex justify-center rounded-lg text-sm font-semibold py-3 px-4 btn-primary text-white hover:bg-slate-700">
   Buy Hyvä themes
</button>

Please flush the Magento cache & check it.
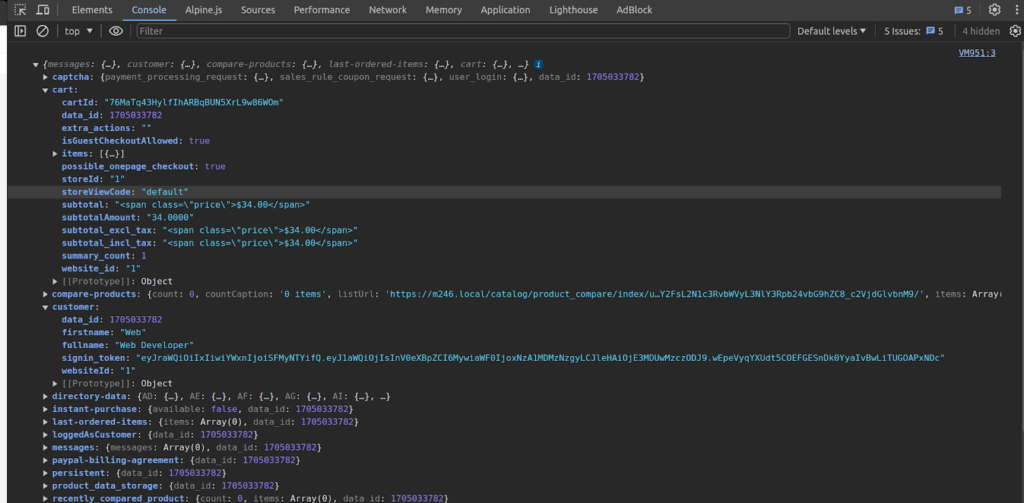
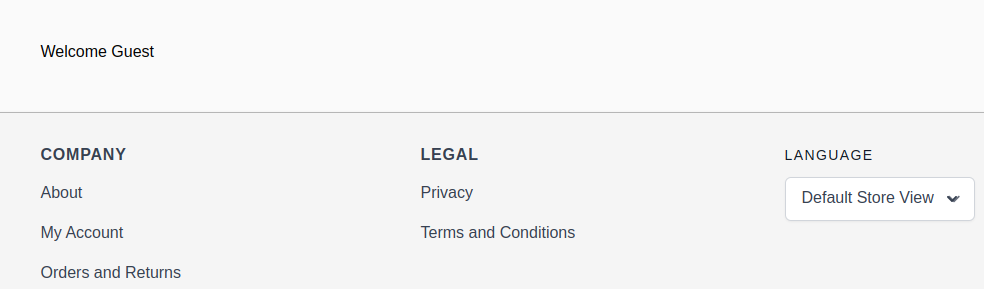
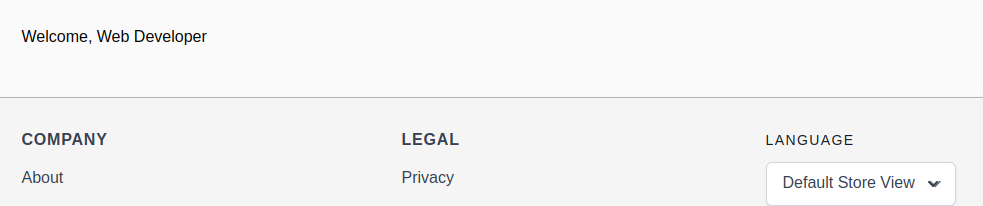
php bin/magento cache:flush

Check Output :

Buy hyva themes button

That’s it !!

More resources on Hyva themes:

  1. Check out the InstaBuild for Hyvä Themes: Ready-made Hyva theme templates for faster storefront development!
  2. Hyva Themes Development – For Online Merchants
  3. Hyvä Theme Benefits that your store needs
  4. 10 Best Hyva Compatibility Extension Providers For Magento 2 Stores
  5. Hyvä VS PWA: Where to Invest?
  6. How a Slow Magento Website Can Cost You Advertising Dollars
  7. Mobile Commerce: How Hyva Themes Boost Mobile Conversions

Stay tuned for more insightful articles on Magento and web development best practices.

We will explain to you how to create a popup modal in Magento 2 Hyva Theme.

Within the Hyva theme for Magento 2, popup modals serve as dynamic elements that cater to diverse functionalities, enhancing the overall user experience. These modals are adept at showcasing promotional offers, displaying subscription forms, presenting detailed product information, streamlining login processes, summarizing cart contents, and conveying other important details. 

By seamlessly integrating these popup modals, Hyva aims to elevate user engagement, ensuring that users can interact with the website seamlessly while preserving the fluidity of their ongoing browsing session. The use of popup modals in the Hyva theme aligns with the broader goal of providing a user-friendly and aesthetically pleasing online shopping experience.

Steps to Open Hyvä Popup Modal in Magento 2:

Step 1: Setting up the Layout for Magento 2 Hyva Theme Popup Modal

Create the Module Directory:

Inside the app/code directory, create a directory for your module. Replace [VendorName] and [ModuleName] with your desired values.

app/code/[VendorName]/[ModuleName]

Create Module Registration File: 

Create a registration.php file in the module directory.

<!– app/code/[VendorName]/[ModuleName]/registration.php  –>
<?php
\Magento\Framework\Component\ComponentRegistrar::register(
    \Magento\Framework\Component\ComponentRegistrar::MODULE,
    ‘[VendorName]_[ModuleName]’,
    __DIR__
);

Create Module Configuration File:

Create a module.xml file in the etc directory of your module.

<!– app/code/[VendorName]/[ModuleName]/etc/module.xml –>
<?xml version=”1.0″ ?>
<config xmlns:xsi=”http://www.w3.org/2001/XMLSchema-instance” xsi:noNamespaceSchemaLocation=”urn:magento:framework:Module/etc/module.xsd”>
    <module name=”[VendorName]_[ModuleName]” setup_version=”1.0.0″/>
</config>

Inside the layout folder, create a default.xml file and add the following code.

app/code/[VendorName]/[ModuleName]/view/frontend/layout/default.xml

Use block default class (class=”Magento\Framework\View\Element\Template”)

<!–app/code/[VendorName]/[ModuleName]/view/frontend/layout/default.xml–><?xml version=”1.0″?>
<page xmlns:xsi=”http://www.w3.org/2001/XMLSchema-instance” layout=”1column” xsi:noNamespaceSchemaLocation=”urn:magento:framework:View/Layout/etc/page_configuration.xsd”>
  <body>
      <referenceContainer name=”content”>
<block class=”[VendorName]\[ModuleName]\Block\[YourBlockClass]” name=”[your_block_name]” after=”-“
template=”[VendorName]_[ModuleName]::modal.phtml” />
      </referenceContainer>
  </body>
</page>

New to Hyvä?? Learn about the Hyvä Theme from scratch!

Step 2: Creating the Template for Magento 2 Hyva Theme Popup Modal

To generate a template for a Magento 2 popup modal within the Hyva Theme, proceed as follows:
1. Establish a template directory at the subsequent location: app/code/[VendorName]/[ModuleName]/view/frontend/templates/

2. Integrate a modal.phtml file into the templates directory and inject the provided code.

<?php
$heroicons = $viewModels->require(\Hyva\Theme\ViewModel\HeroiconsOutline::class);
$modal = $viewModels->require(\Hyva\Theme\ViewModel\Modal::class)
  ->createModal()
  ->withDialogRefName(‘popup-dialog’)
  ->withContent(‘
  <div class=”w-2/3 h-px max-w-1xl md:h-auto”>
      <div class=”absolute top-4 right-4 rounded-t dark:border-gray-600″>
          <button @click=”hideModal” type=”button” class=”h-10 w-10 rounded-full bg-gray-200 p-2″>’.$heroicons->renderHtml(‘x’).'</button>
    </div>
   
  <!– Modal body –>
      <div class=”p-6 space-y-6″>
          <h1>Hyva Popup Modal</h1>
      </div>
  </div>’
  )->addDialogClass(‘relative sm:w-1/2 md:w-1/2 lg:w-1/3 xl:1/3 2xl:1/3′,’m-2’);
?>
<div x-data=”{
  showModal: false,
  hideModal() {
      this.showModal = false;
  },
  openModal() {
      this.showModal = true;
  }
}” x-init=”init()”>
  <button @click=”openModal”>Open Modal</button>
  <template x-if=”showModal”>
      <?= $modal ?>
  </template>
</div>

This PHP and Alpine.js code creates a modal with a close button, a title, and dynamic styles using Tailwind CSS classes. The modal is hidden by default and becomes visible when clicking the “Open Modal” button. The provided PHP code configures the modal, and Alpine.js handles its visibility based on user interactions.

Following this, we create a primary <div> element with the x-data attribute, establishing a connection between the modal and the page. Inside this div, a button is created to trigger the display of the modal upon clicking. The modalViewModel->createModal()->withContent() function is employed to instantiate the modal and incorporate its content.

Within a script tag, the handleModal function is defined. This function returns an object with a single property, hideModal, which, when invoked, subsequently hides the modal.

Upon clicking the “Open Modal” button, the generated modal becomes visible.

For scenarios with multiple modal dialogs on a single page, the $modalViewModel->createModal()->withDialogRefName(popup-dialog’) function creates a unique dialog reference name. To open the modal, you can use show(‘popup-dialog’).

bin/magento setup:upgrade
bin/magento setup:di:compilebin/magento c:f

To apply CSS changes need to run (npm run build-prod) at (app/design/frontend/vendor/module/web/tailwind)

Please check its output “Happy coding”.

Output

Hyva Popup model

Read more resources on Hyva themes:

  1. Check out the InstaBuild for Hyvä Themes: Ready-made Hyva theme templates for faster storefront development!
  2. Hyva Themes Development – For Online Merchants
  3. Hyvä Theme Benefits that your store needs
  4. 10 Best Hyva Compatibility Extension Providers For Magento 2 Stores
  5. Hyvä VS PWA: Where to Invest?
  6. How a Slow Magento Website Can Cost You Advertising Dollars
  7. Mobile Commerce: How Hyva Themes Boost Mobile Conversions

In this post, I will be guiding you on: 

  • How Private section data is initialized?
  • How can we get Private Section Data in Alpine.js components?
  • How can we get Private Section Data in native JavaScript?
  • Reloading / Invalidating Section Data on the Client side
  • Reloading / Invalidating Section Data on the Server side 

In the Hyva theme, the logic of private section data is much simplified than what we used in Default Luma Magento. 

Since private content is specific to individual users, it’s reasonable to handle it on the client side i.e. web browser. A section data is a piece of customer data grouped together and each section is represented by the key.

Initialization of Private section data

Initialization of Private section data is triggered in the footer of every page. You can check the below code on how Section Data is triggered in the footer.

// this happens in the footer of every page

{
  function dispatchPrivateContent(data) {
    const privateContentEvent = new CustomEvent("private-content-loaded", {
      detail: {
        data: data
      }
    });
    window.dispatchEvent(privateContentEvent);
  }

  function loadSectionData() {
    // 1. load privateContent from localStorage.
    //
    // 2. determine if privateContent is valid.
    //    invalidation happens after 1 hour,
    //    or if the private_content_version cookie changed.
    //
    // 3. fetch privateContent from /customer/section/load if needed
    //
    // 4. dispatch privateContent event
    dispatchPrivateContent(hyva.getDummyPrivateContent());
  }

  window.addEventListener("load", loadSectionData);
  window.addEventListener("reload-customer-section-data", loadSectionData);
}

If there is no data present in LocalStorage, or one hour has passed or the private_content_version cookie is changed then fresh section data will be requested from /customer/section/load on when the next page loads and data stored in LocalStorage.

You can find the /customer/section/load request in the Browser’s Network tab on page load. You can also check the section data manually from the below URL.

{store_url}/customer/section/load/?sections=

Learn about the Hyvä Theme from scratch!

Get Private Section Data in Alpine.js components

We can receive the private section data in Alpine.js by listening to the “private-content-loaded” event on the window.

You can add the below code to get the private section data in the browser console.

<div x-data="" @private-content-loaded.window="console.log($event.detail.data)">
</div>

You will get the below response in the browser console when private section data is loaded.

Get Private Section Data in Alpine.js components

 Image URL: https://www.screencast.com/t/txpJEAR46

As you can see when private section data is loaded, with the private-content-loaded event you will get all section data like customer, cart, wishlist, etc. 

Note: In Hyvä it is not possible to subscribe to specific sections. All sections are always combined in one data object.

Let’s understand this with an example of getting customer data in Alpine js.

<script>
    "use strict";

    function initComponent() {
        return {
            customer: false,
            getCustomerData(data) {
                if (data.customer) {
                    this.customer = data.customer;
                }
            }
        }
    }
</script>

<div x-data="initComponent()"
     @private-content-loaded.window="getCustomerData($event.detail.data)"
>
    <template x-if="customer.fullname">
        <div>Welcome, <span x-text="customer.fullname"></span></div>
    </template>

    <template x-if="!customer.fullname">
        <div>Welcome Guest</div>
    </template>

</div>

Output

  • Guest user:
Guest user
  • Logged-in user:
Logged-in user

Get Private Section Data in native JavaScript

We can also get the section data using private-content-loaded events in native JavaScript.

<script>
    "use strict";

    function getCustomerData(event) {
        const sectionData = event.detail.data;

        if (sectionData.customer && sectionData.customer.fullname) {
            console.log('Welcome, ' + sectionData.customer.fullname);
        }

    }

    window.addEventListener("private-content-loaded", getCustomerData);

</script>

Output

You will get the below response in the browser console.

Reloading/Invalidating Section Data on the Client side

Reloading/Invalidating Section Data on the client side can be done with the dispatching “reload-customer-section-data” event.

window.dispatchEvent(new CustomEvent("reload-customer-section-data"));

Note: 

  • In contrast to Magento Luma themes, in Hyvä private content sections data are not invalidated/reloaded individually.
  • The whole section data is only reloaded from the server if the current data is older than 1 hour, or the “private_content_version” cookie is changed.
  • This can be either after a POST-request, or when the data is over 1 hour old.

When we dispatch the “reload-customer-section-data” event, it will cause the Section Data to be reloaded if it is expired or the “private_content_version” cookie is changed, then the private-content-loaded event will be triggered again.

If you want to force-reload the Section Data, we can do this by removing the “mage-cache-sessid cookie” before dispatching the “reload-customer-section-data” event.

// remove the mage-cache-sessid cookie
hyva.setCookie('mage-cache-sessid', '', -1, true);
// reload the section data
window.dispatchEvent(new CustomEvent("reload-customer-section-data"));

The private-content-loaded event will always be triggered after reloading the section data, regardless of whether it was requested from the server or read from local storage.

Reloading/Invalidating Section Data on the Server side

If you want to refresh the Section Data from the Server side(Backend) then the mage-cache-sessid cookie or the private_content_version cookie needs to be deleted.

Magento has done this to refresh the Section Data on any frontend or GraphQL POST request (but not for the REST API). You can check the “process” function in the Magento\Framework\App\PageCache\Version class.

public function process()
    {
        if ($this->request->isPost()) {
            $publicCookieMetadata = $this->cookieMetadataFactory->createPublicCookieMetadata()
                ->setDuration(self::COOKIE_PERIOD)
                ->setPath('/')
                ->setSecure($this->request->isSecure())
                ->setHttpOnly(false)
                ->setSameSite('Lax');
            $this->cookieManager->setPublicCookie(self::COOKIE_NAME, $this->generateValue(), $publicCookieMetadata);
        }
    }

You can do the same thing in custom PHP code during any POST request, inject class Magento\Framework\App\PageCache\Version, and call $version->process().

You can force the refresh in a GET request, and copy the code from Version::process. Keep in mind that GET request responses are usually cached in the FPC.

Read more resources on Hyva themes:

  1. Check out the InstaBuild for Hyvä Themes: Ready-made Hyva theme templates for faster storefront development!
  2. Hyva Themes Development – For Online Merchants
  3. Hyvä Theme Benefits that your store needs
  4. 10 Best Hyva Compatibility Extension Providers For Magento 2 Stores
  5. Hyvä VS PWA: Where to Invest?
  6. How a Slow Magento Website Can Cost You Advertising Dollars
  7. Mobile Commerce: How Hyva Themes Boost Mobile Conversions

Grow your online business like 4,003 subscribers

    * This site is protected by reCAPTCHA and the Google Privacy Policy and Terms of Service apply.
    envelope

    Thank You!

    We are reviewing your submission, and will be in touch shortly.