
In this post, I will be guiding you about symlink in Magento 2.
What is Symlink?
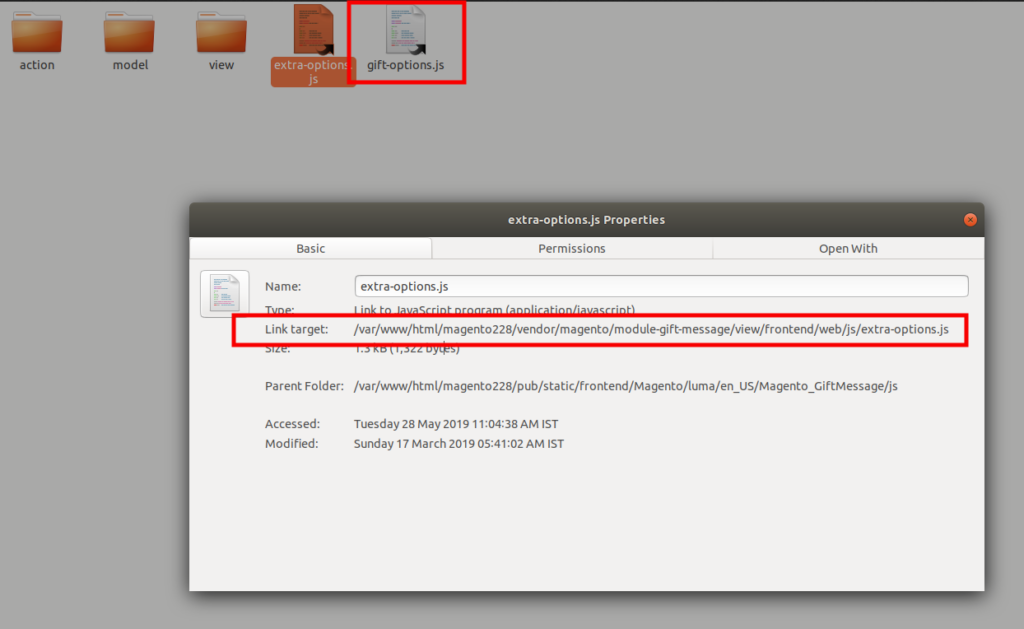
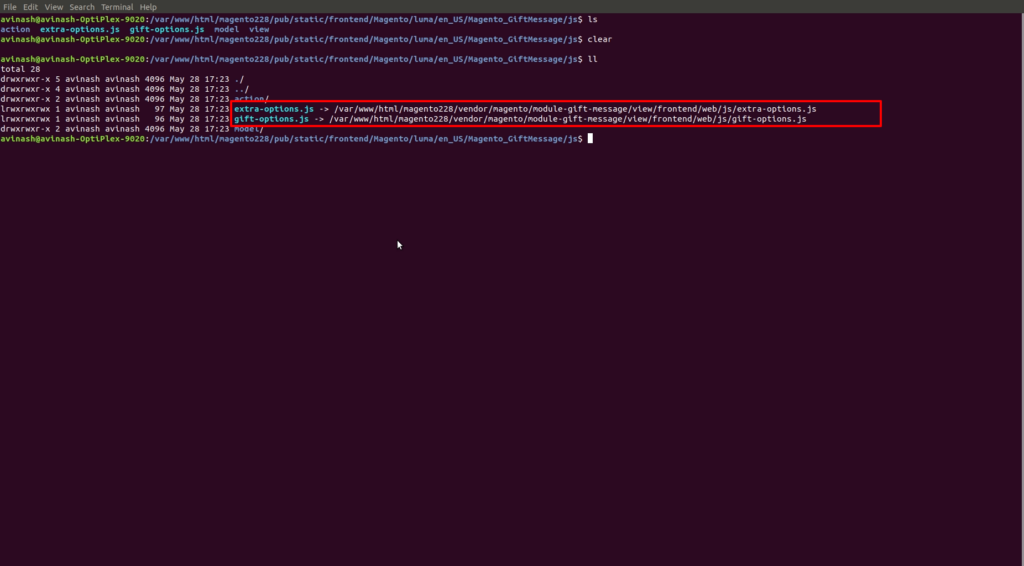
A symlink or a Symbolic Link is simply enough a shortcut to another file. It is a file that points to another file.
I have attached the below two images for identifying symlinks.
Symlinks are generated in the pub static folder of Magento 2 in developer mode.
Symlinks are generated in the pub static folder of Magento 2 in developer mode.
Common issue faced by Developer when working with knockout Js
In the development stage, when you are working with Js, knockout js and knockout template, the developer faces below issues
- The changes in knockout js and knockout templates are not affecting on frontend when page load.
- The developer has to delete the pub static folder or run static content deploy command every time when changes in js and knockout template file.
If you are facing this kind of issue in development, please verify the below steps.
- Is the developer mode enabled?
- Is symlink is generated in pub static folder or not?
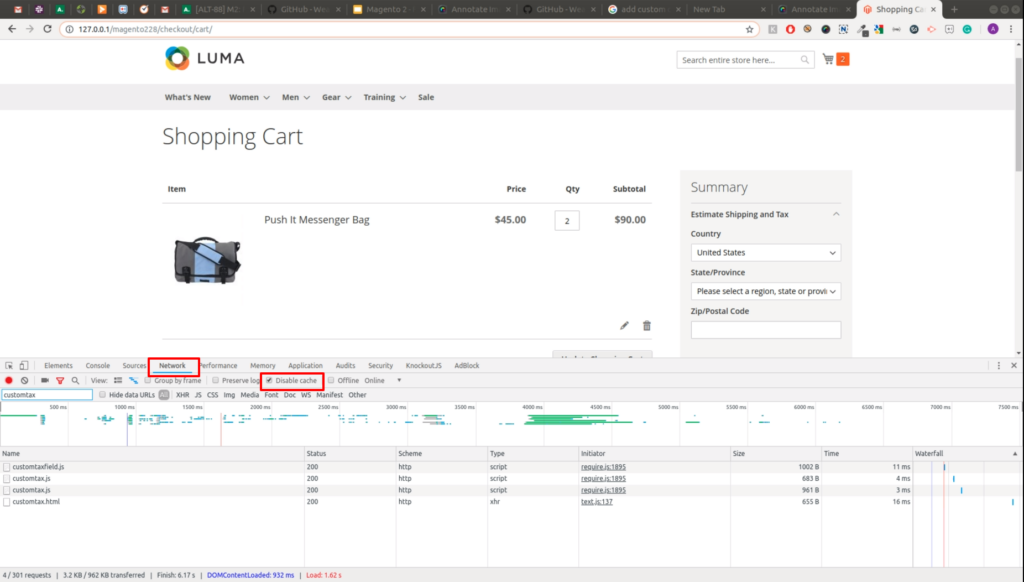
- When doing development, open the inspect element in the browser and in the network tab and select the Disable cache checkbox.
1. Is the developer mode enabled?
- Open the SSH Console and go to the root directory of Magento 2 and run the below command.
bin/magento deploy:mode:show- If it is not a developer mode then run below command to enable developer mode.
bin/magento deploy:mode:set developer2. Is symlink is generated in pub static folder or not?
In development mode, symlinks are generated automatically when page load.
If you can’t see symlinks in pub static folder even after developer mode enabled. There might be the following reasons.
- If you have run the static content deploy command in developer mode, it will generate copies instead of symlinks in pub static folder
- If your web server is Apache then please make sure .htaccess file in pub/static directory otherwise symlinks will not generate.
Notes: When we run static content deploy command in developer mode, it generates copies instead of symlinks in pub static folder So we have to remove that file every time when doing development because symlinks are not created.
Originally, there is no need to run static content deploy command in developer mode. Because on page load it automatically creates symlinks.
Now if copies are generated in pub static folder, perform below steps to generate symlinks.
- Remove pub static frontend and adminhtml folder(Don’t delete .htaccess file)
rm -rf pub/static/frontend/
rm -rf pub/static/adminhtml/- Now load the page, symlinks will create in pub static folder on-demand in developer mode.
Need to create symlinks instead of copies when running static content deploy command
- Install below GitHub module, it will ensure the Magento setup:static-content: deploy will deploy with symlinks instead of copies in Developer mode.
WeareJH / m2-module-symlink-assets
I hope this comprehensive post was helpful. Please leave your comments below, and don’t hesitate to reach out if you require assistance with customizing your Magento store
FAQs
Symlinks are used to redirect to a different file or folder on your device. Symlink stands for symbolic link which is used in LINUX or UNIX. There are two types of symlinks. Soft links work like shortcuts to a file and directly point to it. Hard links direct you to the file storage.
No, symlinks aren’t secure as they can be manipulated to expose data. Symlinks are prone to attacks that can steal data, change permissions, and corrupt files from unwarranted access. These breaches can be controlled by assigning “create symbolic links” only to trusted admins.
The advantages of using symlink are that they can link to both directories and across file systems. They are preferred over hard links as they create links at a namespace level. You can use symlinks to point to any files even if they differ in filesystem, permissions, configurations, and other parameters.
Yes, you can symlink a directory. The process is similar to creating a symlink for a file. To create a symlink to a directory, choose a directory to create the link and select a link name. Then, run the command ln -s <target_directory> <link_name>


