Chapters Close

In this article, we will see how to implement a payment method rendering in Magento 2 checkout.

Step 1: Create the .js component file

It is important to note that you will be implementing the payment method renderer as a UI component. You should not overwrite the default Magento code, just add your customizations code in a separate module. Create the component’s .js file (the payment method renderer) in your custom module directory. It must be stored in the <your_module_dir>/view/frontend/web/js/view/ directory.

The general view of the payment method renderer is as follows:

define(
   [
       'Magento_Checkout/js/view/payment/default'
   ],
   function (Component) {
       'use strict';
       return Component.extend({
           defaults: {
               template: '%path to template%'
           },
           // add required logic here
       });
   }
)

Step 2: Create the .js component registering the renderer

In your custom module directory, create the .js UI component which registers the payment method renderer in the renderers list. It must be located under the <your_module_dir>/view/frontend/web/js/view/ directory.

define(
   [
       'uiComponent',
       'Magento_Checkout/js/model/payment/renderer-list'
   ],
   function (
       Component,
       rendererList
   ) {
       'use strict';
       rendererList.push(
           {
               type: '%payment_method_code%',
               component: '%js_renderer_component%'
           },
           // other payment method renderers if required
       );
       /** Add view logic here if needed */
       return Component.extend({});
   }
);

Step 3: Create the template for the payment method component

Create a new <your_module_dir>/view/frontend/web/template/<your_template>.html file in your custom module directory. The template can use Knockout JS syntax.

Step 4: Declare the payment method in layout

<your_module_dir>/view/frontend/layout/checkout_index_index.xml
  • file in your custom module directory.
  • Add the code given below to that file.
<page xmlns:xsi="http://www.w3.org/2001/XMLSchema-instance" layout="1column" xsi:noNamespaceSchemaLocation="urn:magento:framework:View/Layout/etc/page_configuration.xsd">
<body>
   <referenceBlock name="checkout.root">
       <arguments>
           <argument name="jsLayout" xsi:type="array">
               <item name="components" xsi:type="array">
                   <item name="checkout" xsi:type="array">
                       <item name="children" xsi:type="array">
                           <item name="steps" xsi:type="array">
                               <item name="children" xsi:type="array">
                                   <item name="billing-step" xsi:type="array">
                                       <item name="component" xsi:type="string">uiComponent</item>
                                       <item name="children" xsi:type="array">
                                           <item name="payment" xsi:type="array">
                                               <item name="children" xsi:type="array">
                                                   <!-- Declare additional before payment components. START -->
                                                   <item name="beforeMethods" xsi:type="array">
                                                       <item name="component" xsi:type="string">uiComponent</item>
                                                       <item name="displayArea" xsi:type="string">beforeMethods</item>
                                                       <item name="children" xsi:type="array">
                                                           <item name="%your_feature_name%" xsi:type="array">
                                                               <item name="component" xsi:type="string">%path/to/your/feature_js_component%</item>
                                                           </item>
                                                       </item>
                                                   </item>
                                                   <!-- Declare additional before payment components. END -->
                                                   <!-- Declare the payment method (the component that registrates in the list). START -->
                                                   <item name="renders" xsi:type="array">
                                                       <item name="children" xsi:type="array">
                                                           <item name="%group name of the payment methods%" xsi:type="array">
                                                               <!-- Example of value: Magento_Authorizenet/js/view/payment/authorizenet-->
                                                               <item name="component" xsi:type="string">%component_that_registers_payment_renderer%</item>
                                                               <item name="methods" xsi:type="array">

                                                                   <!-- Add this if your payment method requires entering a billing address-->
                                                                   <item name="%payment_method_code%" xsi:type="array">
                                                                       <item name="isBillingAddressRequired" xsi:type="boolean">true</item>
                                                                   </item>
                                                               </item>
                                                           </item>
                                                       </item>
                                                       <!-- Declare the payment method (the component that registrates in the list). END -->
                                                       <!-- Declare additional after payment components. START -->
                                                       <item name="afterMethods" xsi:type="array">
                                                           <item name="component" xsi:type="string">uiComponent</item>
                                                           <item name="displayArea" xsi:type="string">afterMethods</item>
                                                           <item name="children" xsi:type="array">
                                                               <item name="%your_feature_name%" xsi:type="array">
                                                                   <item name="component" xsi:type="string">%path/to/your/feature_js_component%</item>
                                                               </item>
                                                           </item>
                                                       </item>
                                                       <!-- Declare additional after payment components. END -->
                                                   </item>
                                               </item>
                                           </item>
                                       </item>
                                   </item>
                               </item>
                           </item>
                       </item>
                   </item>
               </item>
           </argument>
       </arguments>
   </referenceBlock>
</body>
</page>

FAQs

How do you add a custom field in checkout page below payment method in Magento 2?


To add a custom field in checkout page below payment method in Magento 2, follow the below steps:
1. Add the custom field to the table.
2. Add a checkbox below the payment method.
3. Save it in the quote table and sales order table.
4. Display the attribute on the admin side.

How to configure payment methods in Magento 2?


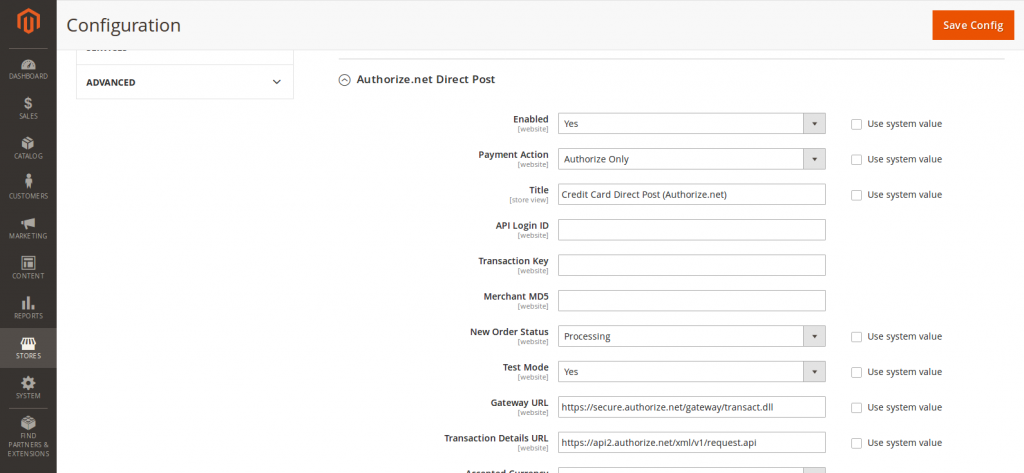
To configure payment methods in Magento 2, you need to go to Stores>Configuration through the admin panel. Click on the Sales>Payment Methods tab to find all default payment methods. Click on a payment method, such as bank transfer or money order, to configure the title, instructions, and order value.

How to customize Magento 2 checkout page?


To customize Magento 2 checkout page, follow these steps:
1. Add new checkout components by coding the view part of the component.
2. Add the component to the existing checkout page layout.
3. Customize the component by changing its .js implementation.
4. You can add, customize, or manage these checkout steps through the Magento 2 admin dashboard.

How to add custom form in checkout page in Magento 2?


To add a custom form in the checkout page in Magento 2, follow the below steps.
1. Create a JavaScript implementation for the new form.
2. Create an HTML template for the UI component.
3. Declare the region where the form is to be inserted in the checkout page.
4. Clear the cache and test the implementation.

This piece of information will throw some light on how to setup authorize.net in Magento 2. 

The Authorize.net allows the customers to make payments directly on the website. All you need to do is to set it up and it will start accepting secured payments.

Follow below three steps to achieve it quickly:

  • Step 1: Setup a direct post for Authorize.net
  • Step 2: Connect to Authorize.net account
  • Step 3: Configure the system

Step 1: Setup a direct post for Authorize.net

To open Authorize.net configuration go to Stores > Configuration > Sales > Payment Methods > Authorize.net Direct Post

  • To Enabled select Yes
  • For Payment Action, you can select from multiple options, choose whichever is suitable for you. Below is the description of each of the two options for you to get a clear idea:
    • Authorize and Capture: Funds on the customer’s card are authorized and captured by Authorize.Net, and the order and invoice are created in your store’s Admin.
    • Authorize Only:  Funds on the customer’s card are authorized by Authorize.Net, and the order is created in your store’s Admin. You can later create an invoice and capture the funds.
  • Then, enter the name of the payment method in the Title field.

Step 2: Connect to Authorize.net account

  • As you can see in the screenshot above, we need to fill in the following data of our Authorize.net account:
    • API Login ID
    • Transaction Key
  • In Merchant MD5 box, you need to fill in the data from your Authorize.net account at Account > Settings > Security Settings > MD5-Hash.
  • Next you have to choose one of the two options for the New order status drop-down as shown below:
    • Suspected Fraud
    • Processing
  • With Authorize.net we can test the performance first in order to check if there is any bug.  We can test and turn it off once we are sure that everything is ok and our system is ready for running.
  • In Gateway URL box, we need to fill in the default link from Authorize.net, the default link for the same is: https://secure.authorize.net/gateway/transact.dll

Step 3: Configure the system

  • Set up Accepted Currency.
  • To save messages transmitted between your store and the Authorize.Net Direct Post system, set Debug to “Yes.”
  • In the Credit Card Types list, select each credit card that is accepted in your store.
  • If you want the customers to enter a card verification value (CVV), set Credit Card Verification to “Yes”.
  • For Payment from Applicable Countries you have 2 options
    • All Allowed Countries – Customers from all countries specified in your store configuration can use this payment method.
    • Specific Countries – After choosing this option, the Payment from Specific Countries list appears. Select each country in the list from where customers can make purchases from your store.
  • Enter the Minimum Order Total and Maximum Order Total for Direct Post transactions.
  • Enter a Sort Order number to determine the position of Direct Post in the list of payment methods during checkout.
  • Hit the Save Config button to complete the Authorize.net configuration.

Grow your online business like 2,822 subscribers

    * This site is protected by reCAPTCHA and the Google Privacy Policy and Terms of Service apply.
    envelope

    Thank You!

    We are reviewing your submission, and will be in touch shortly.